How to Build a Reading Fort in Your Own Home

If you’ve ever dreamed of having your own secluded reading space, with blankets draped across the walls and filled with cushions to lounge on, then you’re in the right place. Here I’ve put together a step-by-step guide that will show you how to construct your own pillow fort, using items from around your home.
You will need:
A selection of sheets or blankets
A number of cushions or pillows
One duvet
A large floorspace
A few pieces of furniture
Books, snacks and tea (or another beverage of your choice)
Step 1: Clear a large space
Have a good think and decide on the best place to construct your fort. Where do you have the most space in your home?
Do a little bit of rearranging until you have enough floorspace to start your construction. Kitchen tables are great as they will give your fort a ready made ceiling!
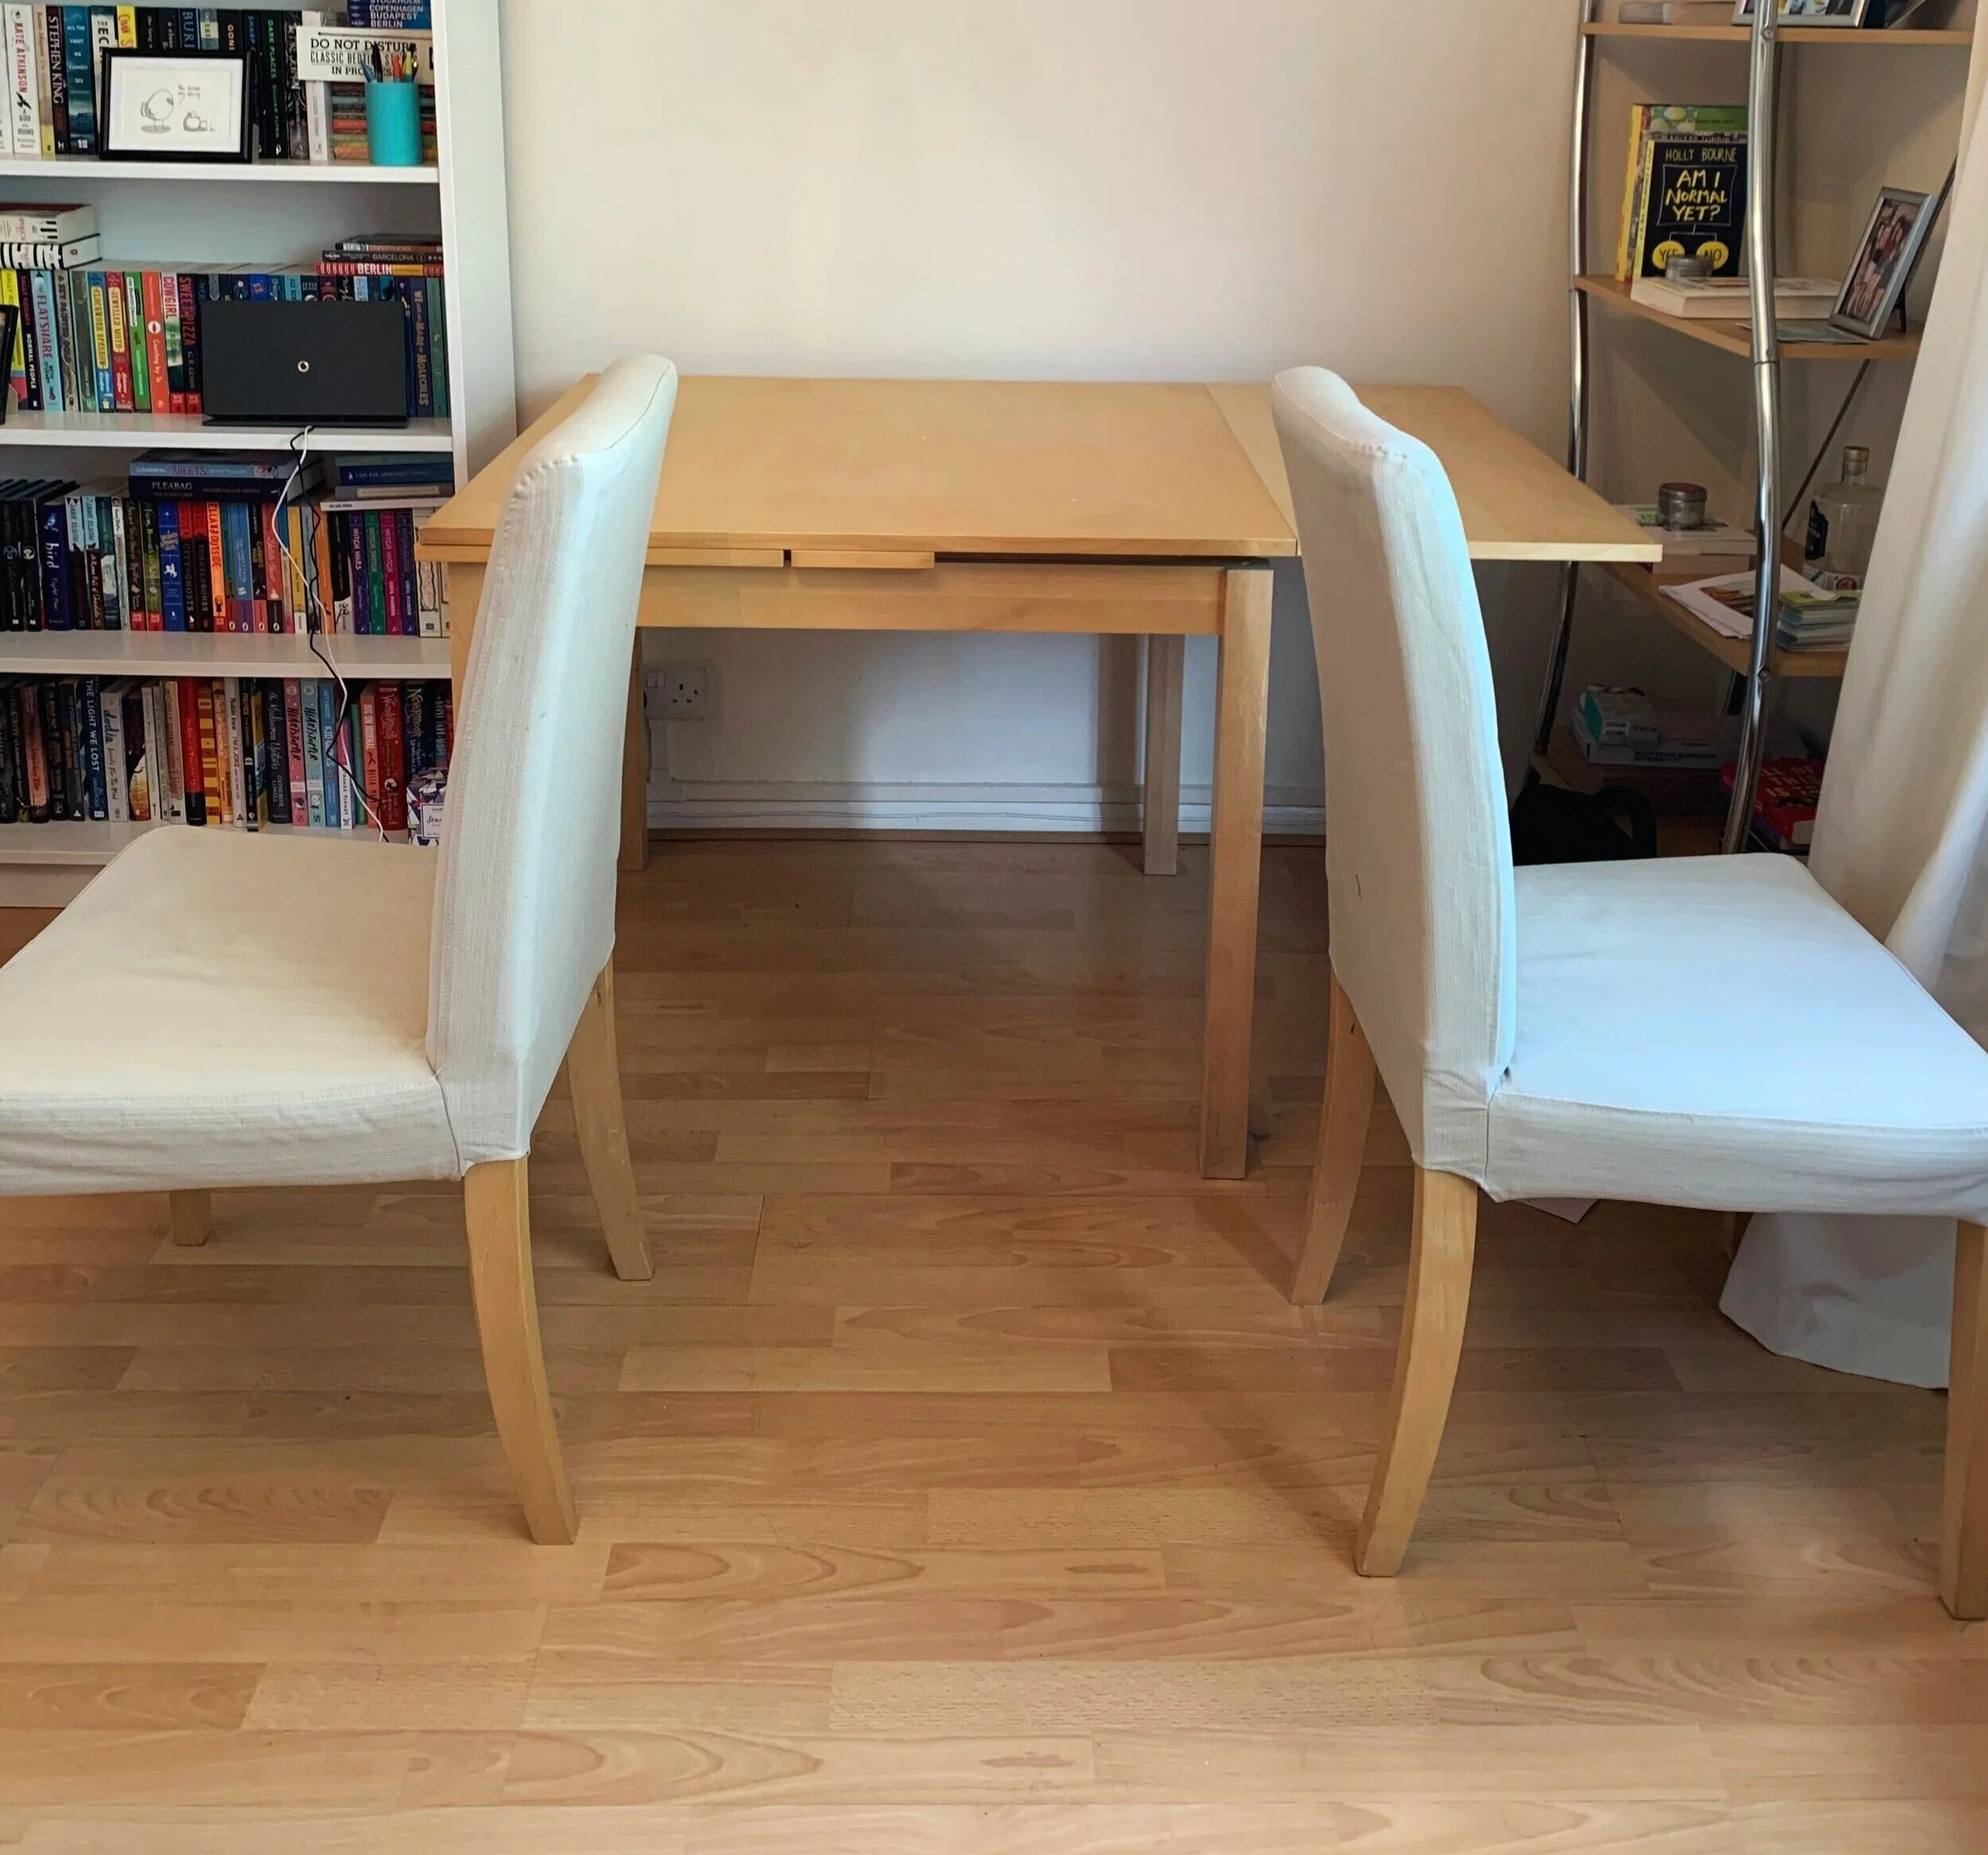
Step 2: Arrange your furniture
This is the most important step in pillow fort construction that you need to get right. For my fort, I positioned two dining room chairs in front of the table, but there are loads of combinations that would work. You need to make sure that once you drape a few pieces of fabric across the top, there will be a space in the middle that you can hang out in. Experiment!
Step 3: Create the walls and ceiling
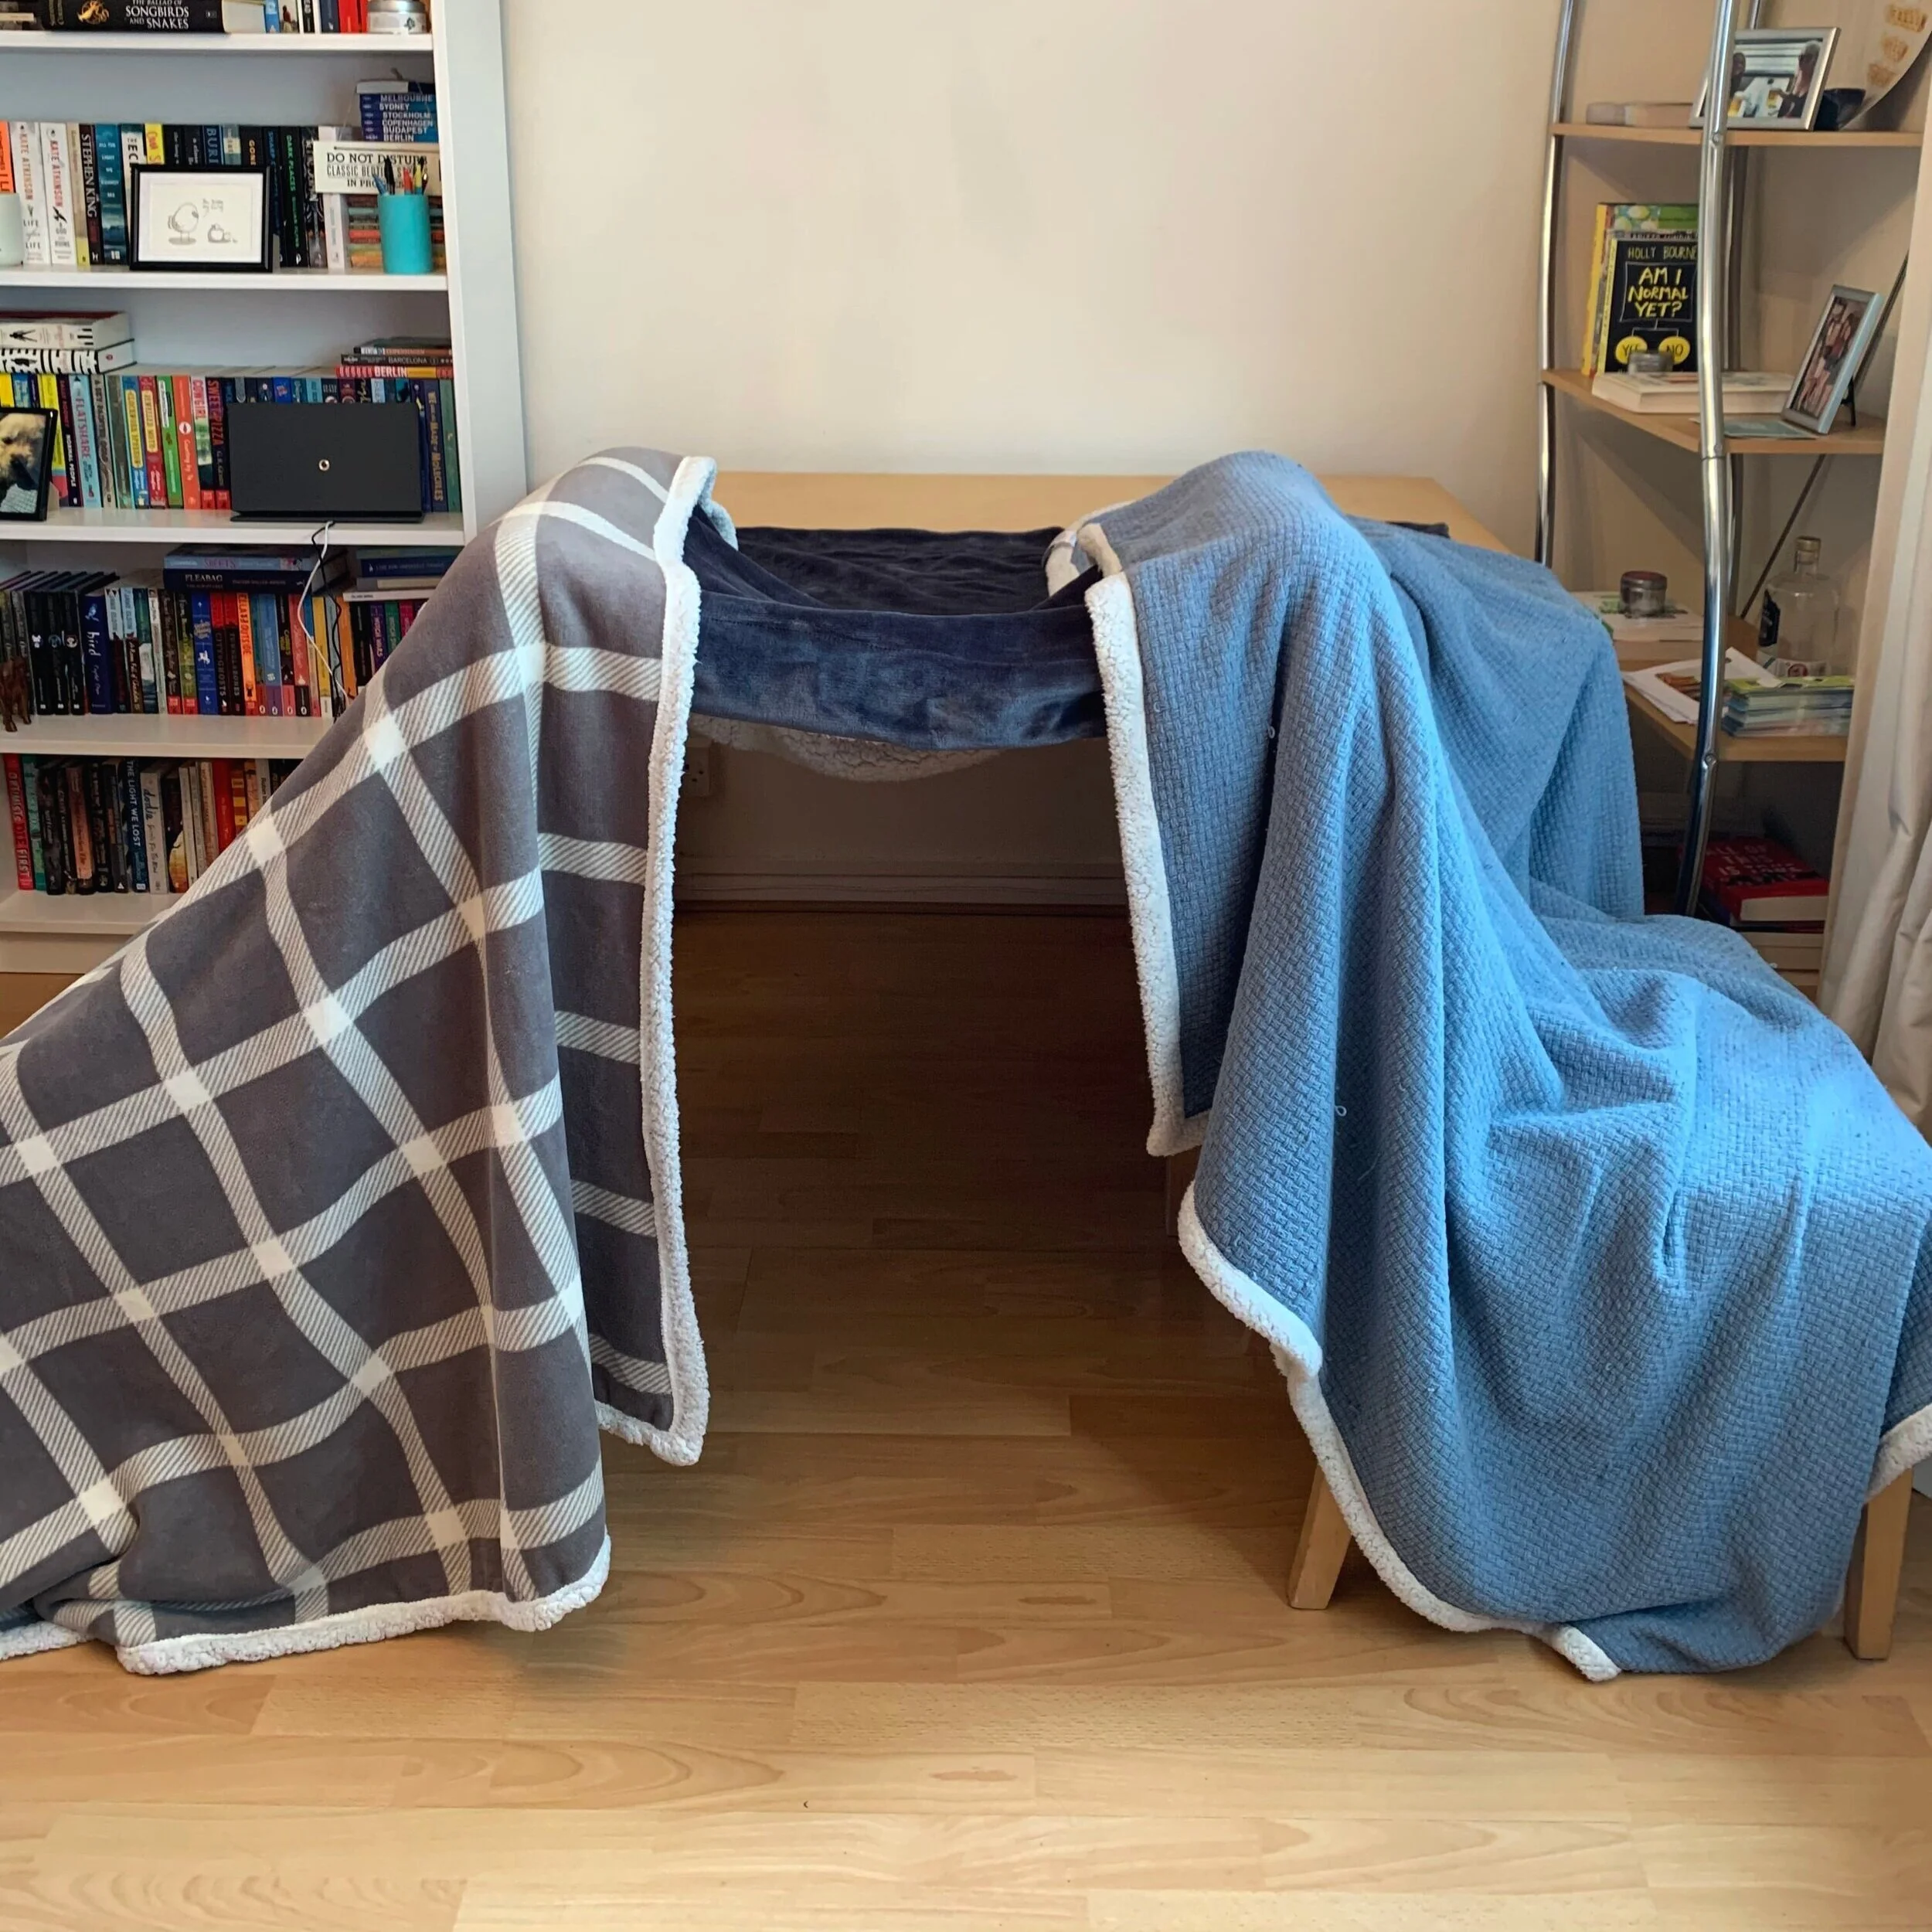
Ok, it’s time for your new den to start becoming fort like.
Grab your duvet and lay it down on the bottom of your fort, folding it as necessary (AD). Then take your other sheets or blankets, whichever you’ve chosen, and drape them across the top to create a ceiling. Finally, add the rest of your fabrics so that all sides of your fort are covered, with a gap at the front that you can use as an entrance.
I placed a few extra blankets at the front of my fort’s entrance to make it look more cosy!
step 4: furnish your fort
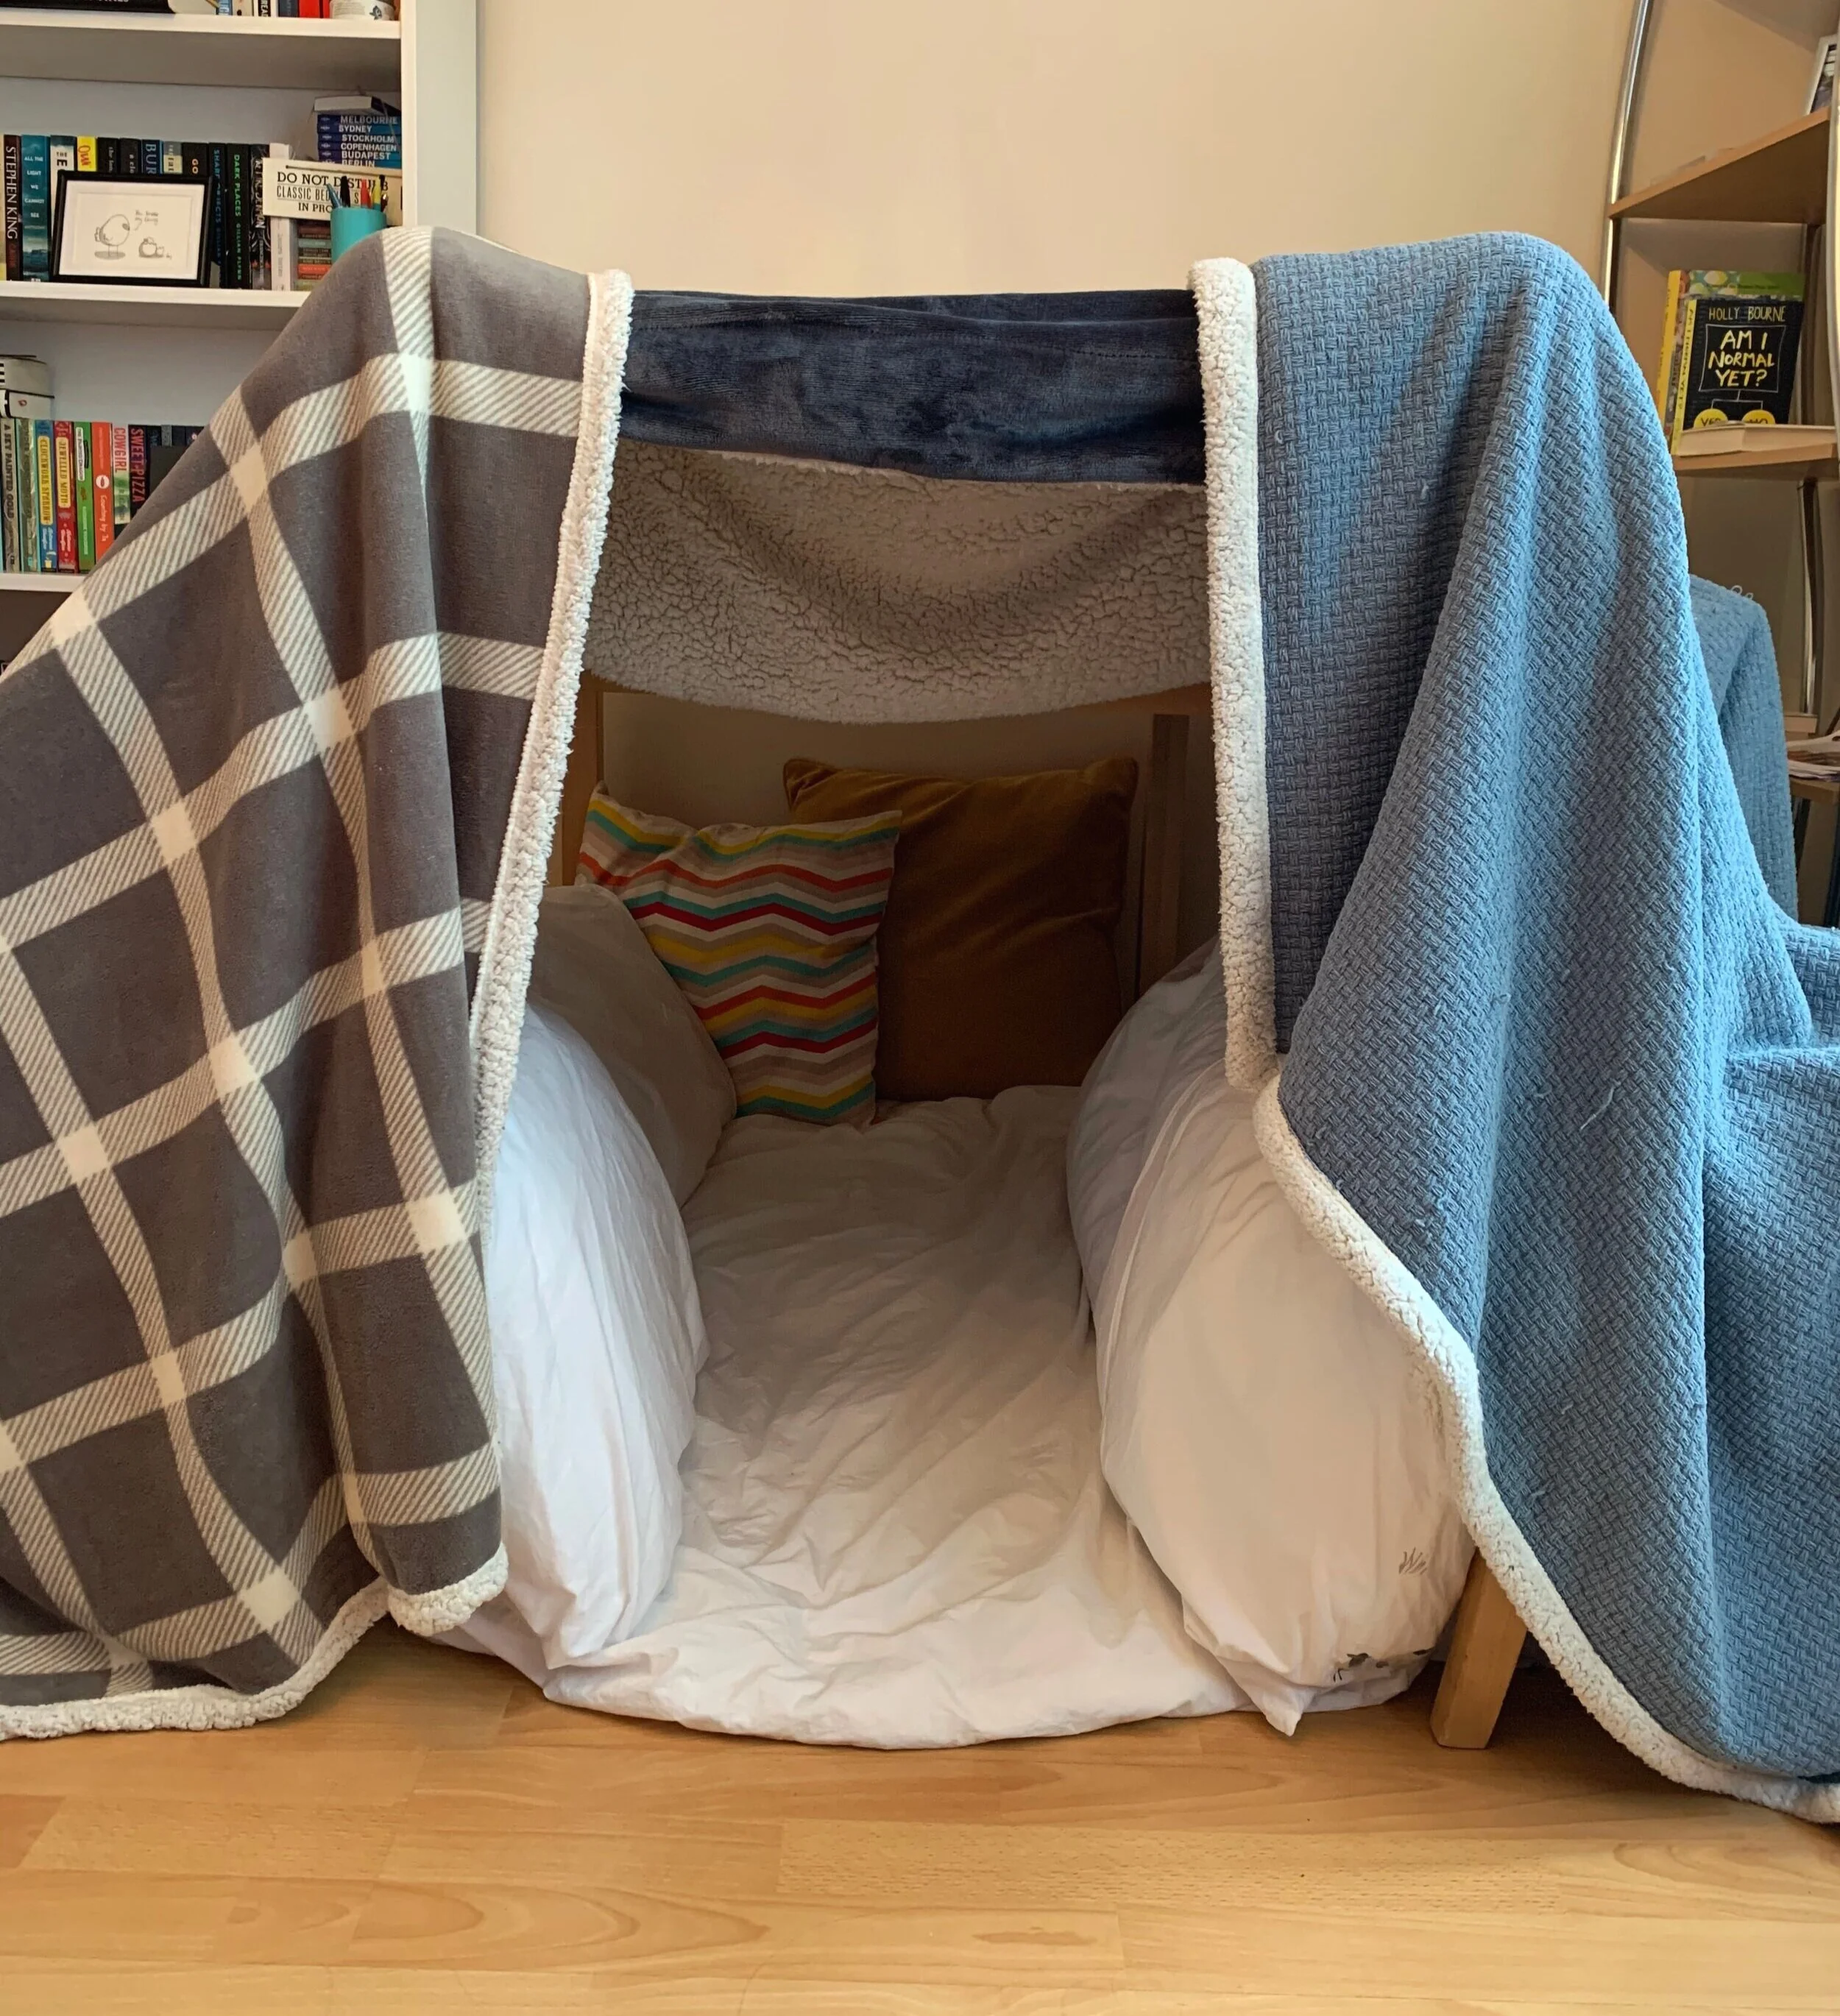
Grab your duvet and lay it down on the bottom of your fort, folding it as necessary. This will give you a comfy floor to sit on, but feel free to add other fabrics or soft furnishings if you want it to be more squishy. Next, gather up your pillows and scatter them around the edge of your space. I lined my fort with pillows and cushions to make the walls feel more substantial.
Be creative and decorate the interior and exterior of your fort as you wish - fairy lights look brilliant!
Step 5: Time to read

And that’s it, your reading fort is complete. All that’s left to do is to brew yourself a cup of tea (other beverages are available), pick up your current read and settle down with some snacks. Your fort is yours to enjoy.
If this post inspires you to create your own reading fort then I would love to hear about it; make sure to send me a DM on Instagram and let me know. Happy fort building!
More Blog Posts
Sleeping in a library! | A Stay at Gladstone's Library, Wales
GG's Yard, the Perfect Bookish Retreat in the South of Scotland